Get started with your Automed device effortlessly by following this guide, which will walk you through the setup process step by step, ensuring your device is ready for efficient use.
Steps to setup your Automed device
This guide is designed to help you set up your Automed device in a quick and straightforward manner. We recommend initially configuring the device in Manual mode and familiarizing yourself with its operation before connecting any scale head. This approach ensures that you are comfortable and confident with the device's functionality, making it easier to take the next steps in its usage.
Watch the Video
Step 1: Unboxing
Begin by unboxing your Automed device and insert one of the batteries into it. It's also a good idea to charge the second battery, as the batteries are typically only 30% charged when supplied. This ensures you have a fully charged spare ready for use.
Step 2: Device Configuration
Before attaching an adapter to your Automed device, it's important to ensure the device is configured according to your operational needs. Follow the guides provided below to customize the settings to your specific requirements.
If you need your Automed device to operate in a language other than English, or to measure in units other than Metric, follow the specific steps outlined in the relevant guides for these adjustments.
- Set Device Language - View Guide
- Set Unit of Measurement - View Guide
Step 3: Configure and Start Dosing
After configuring your Automed device with your preferred language and unit of measurement, you can proceed to connect an adapter to the device. Then, refer to the following guides to prepare for starting the dosing process.
- Set Manual Dose - View Guide
- Prime Adapter - View Guide
Having completed these steps, you are now prepared to begin dosing in Manual mode. Starting with this method is recommended to familiarize yourself with the delivery device before progressing to more advanced features.
Step 4: Dosing
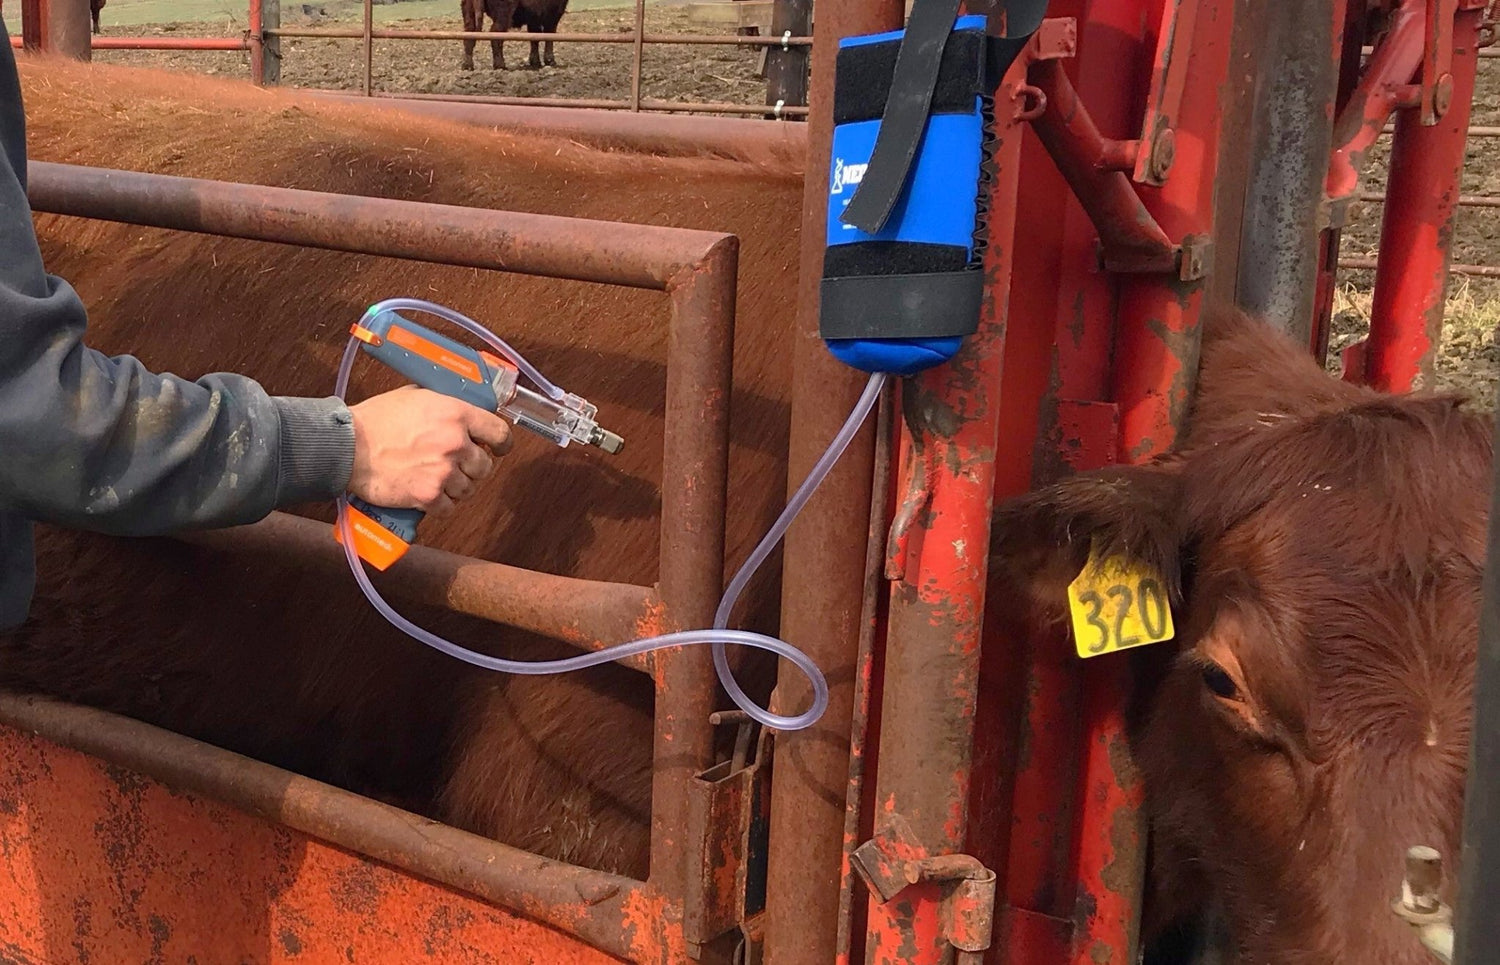
To begin dosing, navigate to the start menu on your device and hold down the trigger until you hear a beep. Once this is done, your device is now primed and ready for treating animals.

As you proceed with dosing, you will observe various screens appearing on your device, each providing important information and prompts to guide you through the dosing process.

The displayed screen above indicates the set dose rate, signifying that the device is geared up to administer treatment to an animal. This screen is a crucial element of the dosing routine, as it ensures that you are well-informed about the predetermined dosage before you go ahead with the treatment.

If the displayed screen shows an incomplete dose, it indicates that the full dosage has not been successfully administered. In this case, you can reinsert the adapter into the animal to complete the dosing process.

This function also includes a timeout feature, which activates after 10 seconds of inactivity. If the device times out, it will automatically reset, preparing it to deliver a full dose once again.
Next Steps
After becoming comfortable with operating the device, you can progress to setting it up for weight-based dosing. To accomplish this, please refer to the following guides, which will assist you in getting started with this more advanced feature.
- Setup Gallagher TW Scale Head - View Guide

0 comments